Key Concepts
Before we begin developing smart contracts, we need to learn some key concepts and terminologies.
1. Local Test Ethereum Network
A local test Ethereum network is a developer-controlled blockchain environment that simulates Ethereum's functionality for testing smart contracts, dApps, and transactions without using real Ether or interacting with the mainnet.
Two of most popular Local Test Ethereum networks include:
a. The ganache Network : : A fast, personal Ethereum blockchain used for testing and development. It allows you to deploy contracts, develop applications, and run tests locally. You can read more about it here: Ganache Home Page
b. The Hardhat Network : A local Ethereum network built into the Hardhat development environment. It provides advanced debugging features, stack traces, and automatic mining for efficient smart contract development. You can read more about it here: Hardhat Home Page
2. Ethereum Test Networks
Ethereum test networks like Sepolia are public blockchains used for testing smart contracts and dApps in a realistic environment. They mirror mainnet behavior without using real ETH, enabling safer deployments and experimentation.
You can read more about it here: Sepolia Home Page.
3. Faucets
A faucet is a free web-based tool that dispenses small amounts of testnet Ether (ETH), allowing developers to pay for transactions on public testnets like Sepolia. Here is a list of the top faucets:
a. Google Cloud Web3 Faucet Instant Sepolia tokens via your Google account. Please visit Google Sepolia Faucet
b. Alchemy Sepolia Faucet Up to ~0.1 ETH every 72 hours, no auth needed. Please visit Alchemy Sepolia Faucet
c. QuickNode Sepolia Faucet Free ~0.05–0.1 ETH every 12 hours (bonus for tweeting). Please visit QuickNode Sepolia Faucet
4. Productivity Tools
a. Meta Mask is a non-custodial Ethereum wallet (browser extension and mobile app) that enables users to manage ETH/ERC‑20 tokens and securely connect to decentralized apps (dApps).
Sign up and download MetaMask here: MetaMask Signup.
MetaMask simplifies smart contract development by enabling quick wallet integration, seamless testnet interaction, and easy transaction signing directly from the browser.
b. Remix GUI (Web based) Remix UI is a browser-based IDE for writing, compiling, deploying, and debugging Ethereum smart contracts using Solidity, with built-in tools and test environment. Visit Remix Home page for more information.
Why it's important: It streamlines smart contract development without needing complex local setups, enabling quick testing, debugging, and deployment on local or test networks like Sepolia or Ganache.
5. Pre-requisite Software Installation
a. web3.py: web3.py is a Python library for interacting with Ethereum nodes, enabling smart contract deployment, transactions, and blockchain data access using Python code in decentralized application development.
It can be installed using the following command:
pip3 install web3
b. Node JS / NPM Installation: We will be using the ganache local ethereum network on our Cloud Instance. It requires NPM to be installed. Follow this commands to install
curl -o- https://raw.githubusercontent.com/nvm-sh/nvm/v0.40.3/install.sh | bash
source ~/.bashrc
nvm list-remote
nvm install lts/jod
nvm --version
Step 6: Install Local ganache Ethereum Network on Cloud VM
We can install ganache on Ethereum local network using following set of commands:
npm install -g @ganache/cli
We can run it on all network interfaces as follows:
ganache --host 0.0.0.0 --port 8545 --chain.chainId 1337
If we don’t mention --host 0.0.0.0, we will not be able to use it in our browser based MetaMask wallet.
Step 7: Install Brownie
Brownie is a Python-based development and testing framework for Ethereum smart contracts, supporting Solidity and Vyper, with tools for deployment, testing, debugging, and interaction via scripts.
Brownie simplifies smart contract workflows by integrating Python scripting, automated testing, and network management—ideal for developers comfortable with Python. You can get more information: Brownie Home Page. You can install it using pip installer as follows:
pip3 install eth-brownie
We can verify installation using the following command:
brownie --version


 The expanded view is shown below:

 When you click on the drop down, you will see the list of available network as shown below:
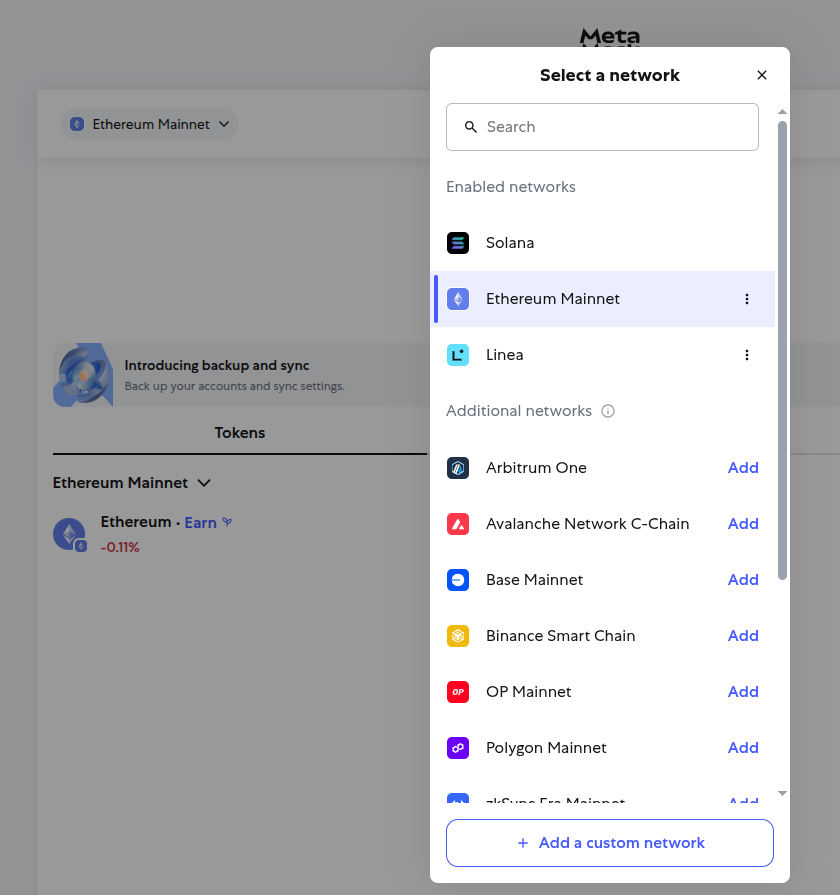 You will see button at the bottom called 'Add a custom network'. Click on the button and you will be redirected to the following page:

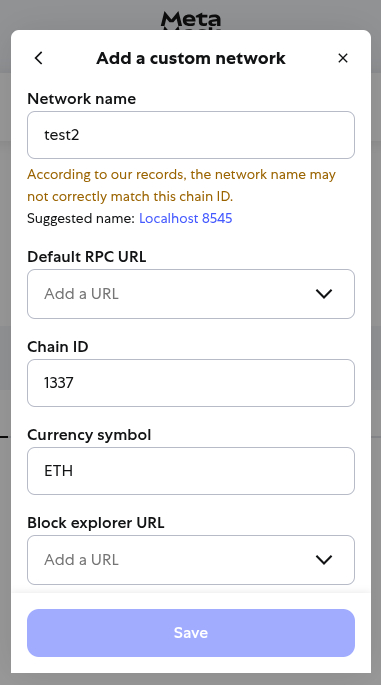 In order to add Default RPC URL click on the drop down. You will be redirect to the following screen:
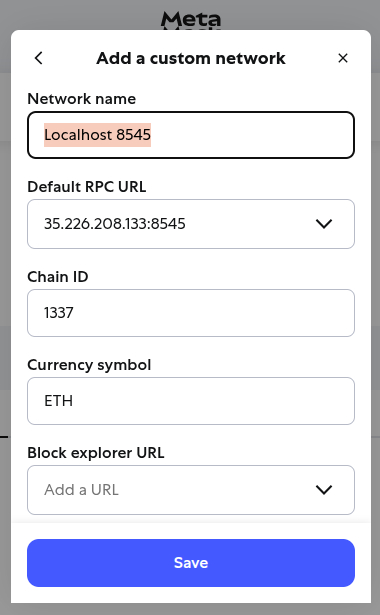
 Now paste RPC URL (copied in Step# 4.2) and click 'Save' button.
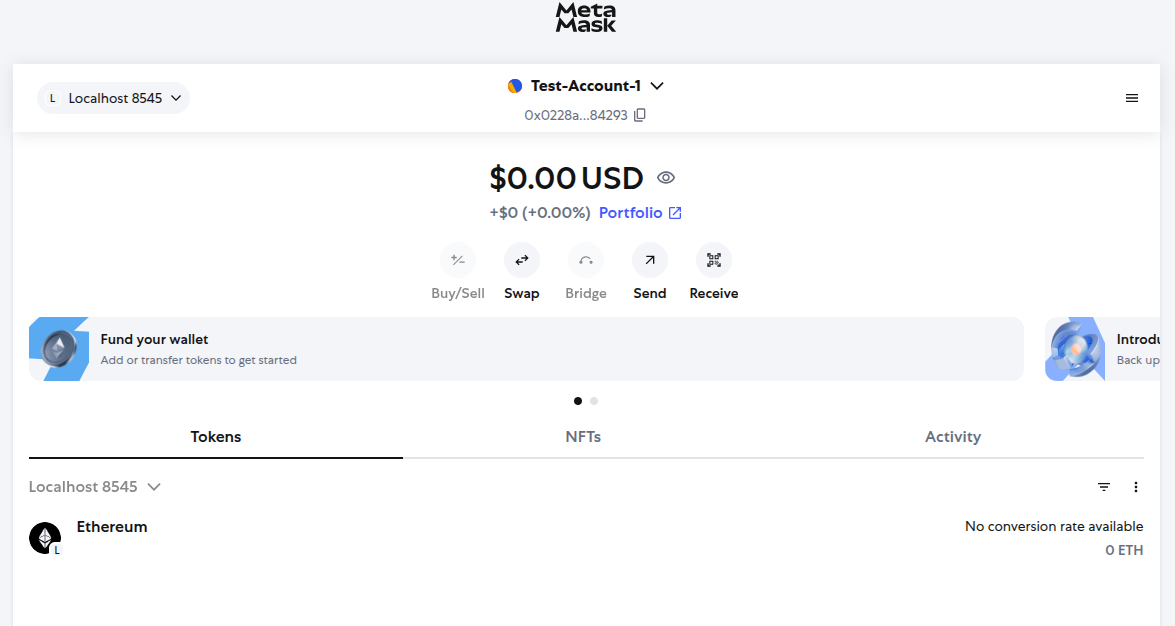
 Now click on our test network Localhost 8545. You will be redirected to the following page:
 When you click on the drop down, you will be presented following screen:
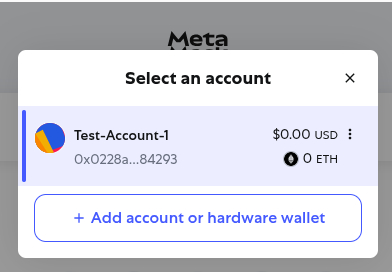 Click on the 'Add account or hardware wallet'. You will be redirected to the following screen:
 From the options presented, please click on 'Private Key'. You will be redirected to the following screen:
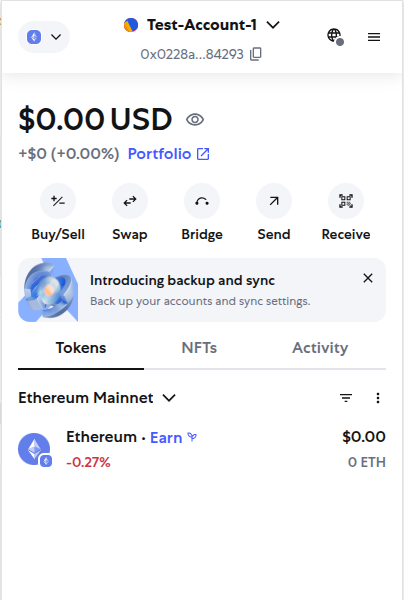
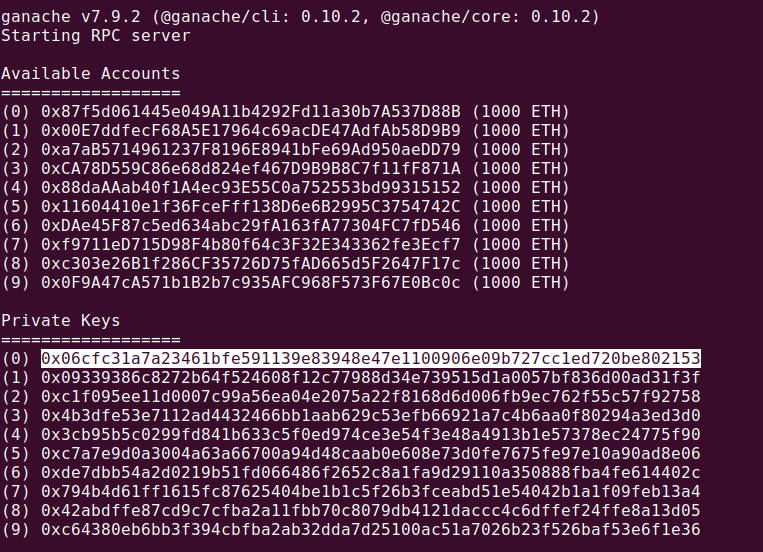
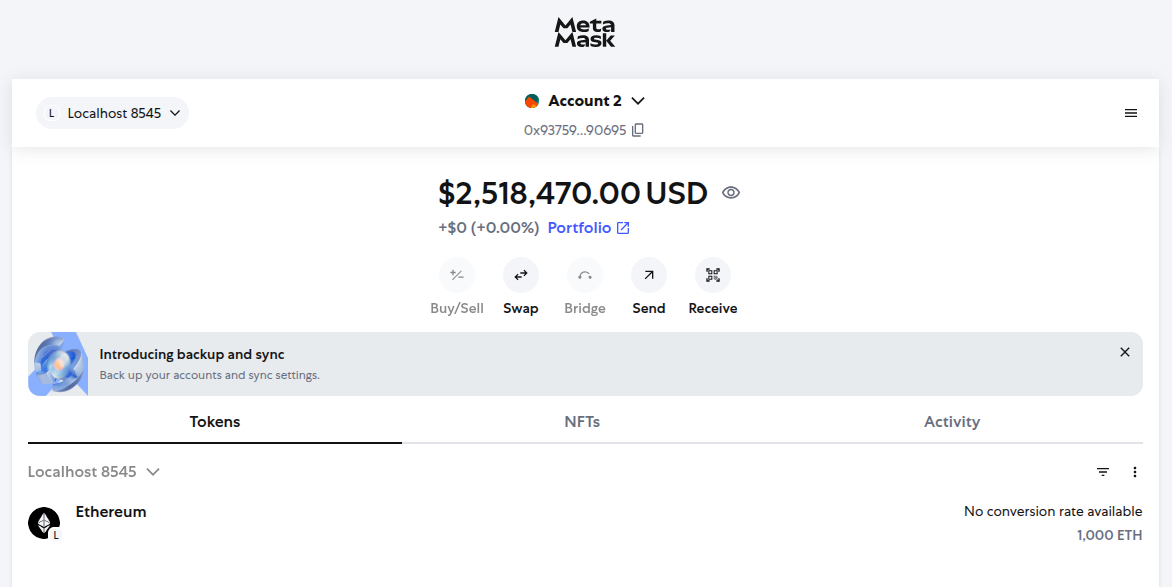
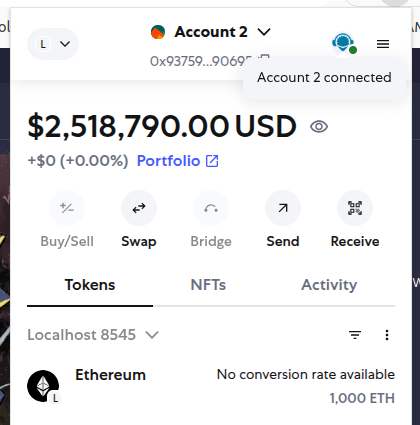
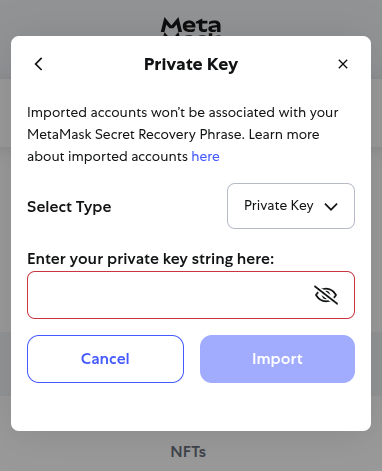 Now paste the private key copied in Step# 4.2 and click on 'Import' button. You will see the test balance added to the our test account as shown in the following screen:
 Ensure Remix and Test Account is connected as shown below:
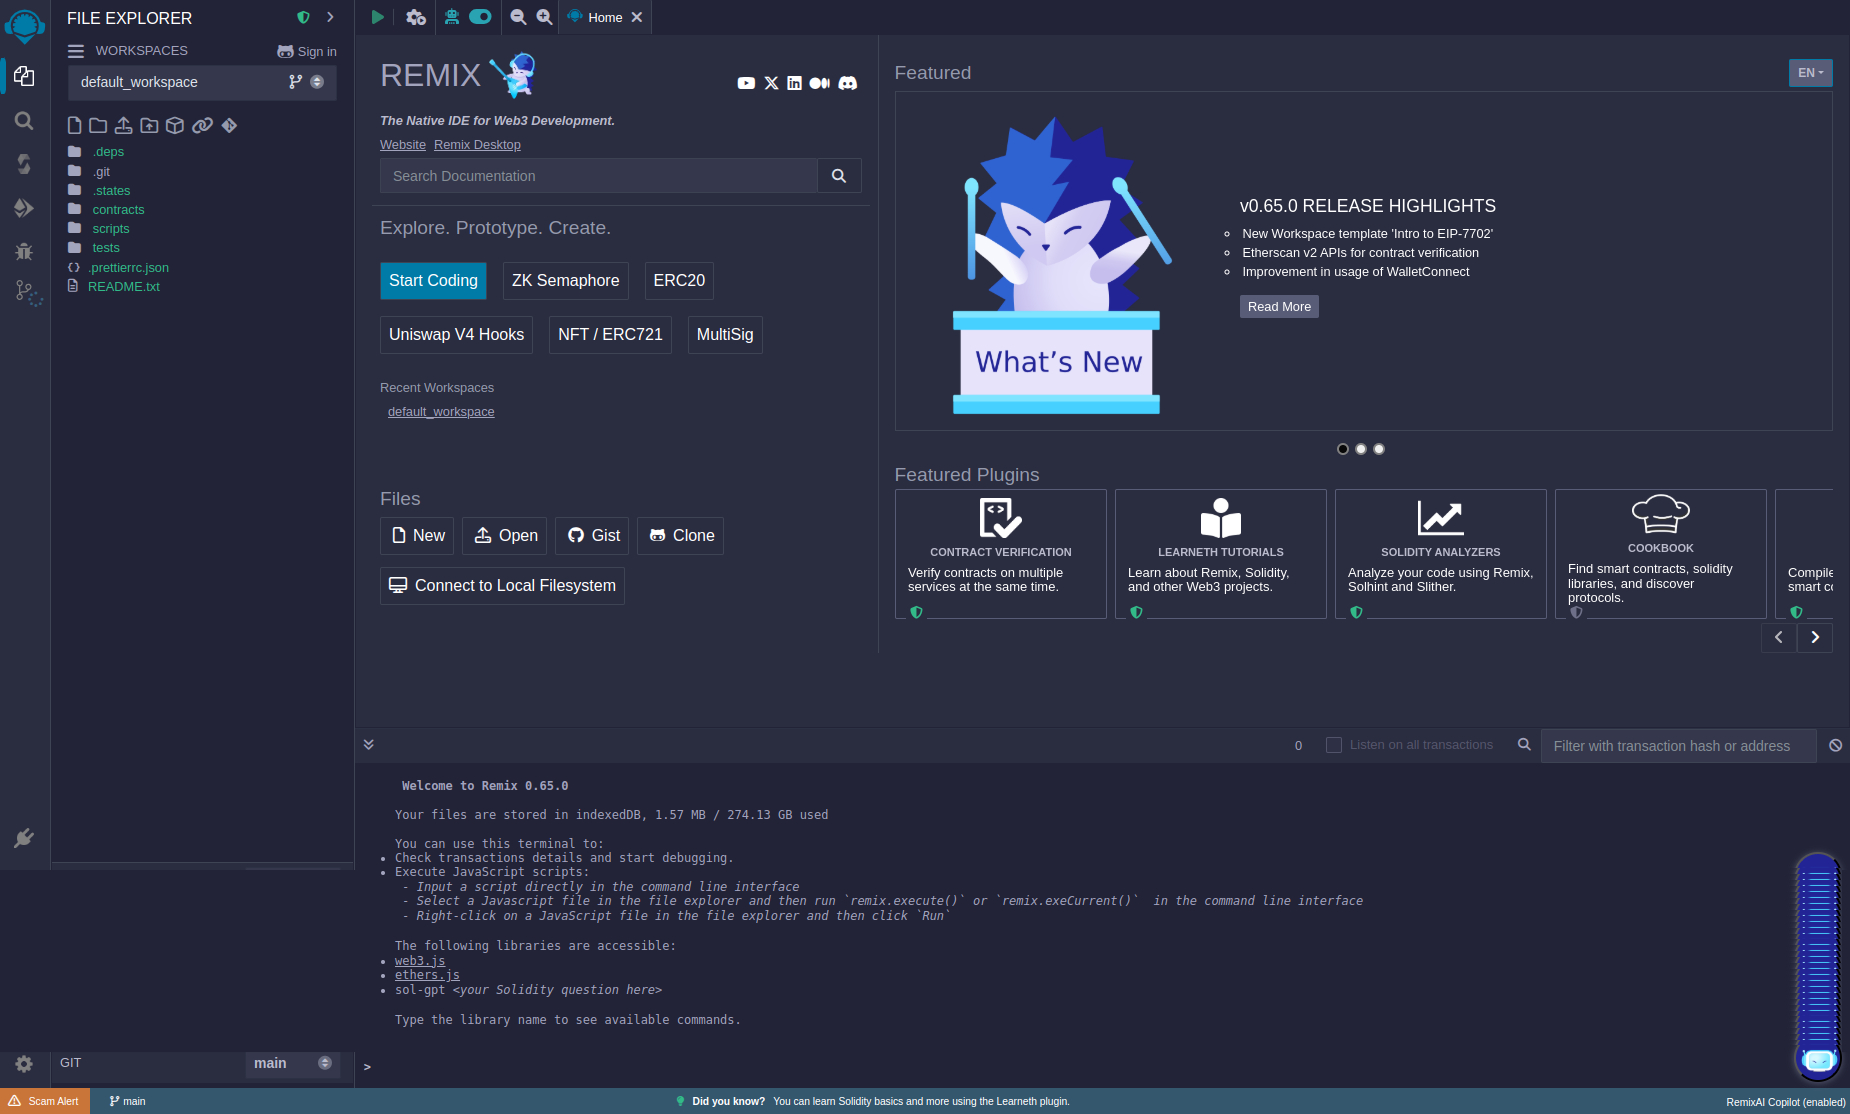
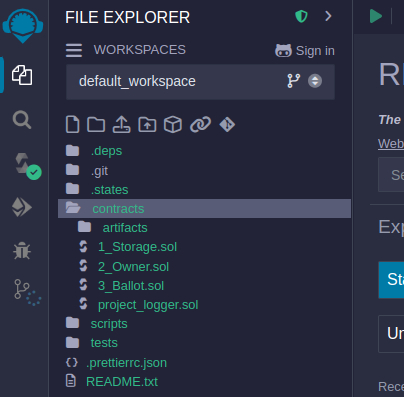
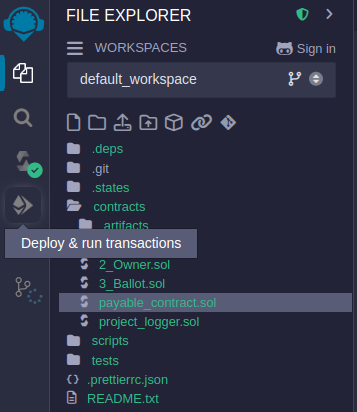
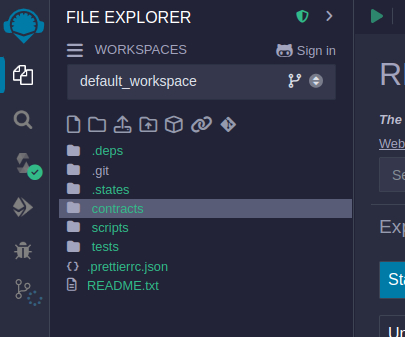 3. Click on the folder icon to expand contracts to show the list current Solidity contracts.


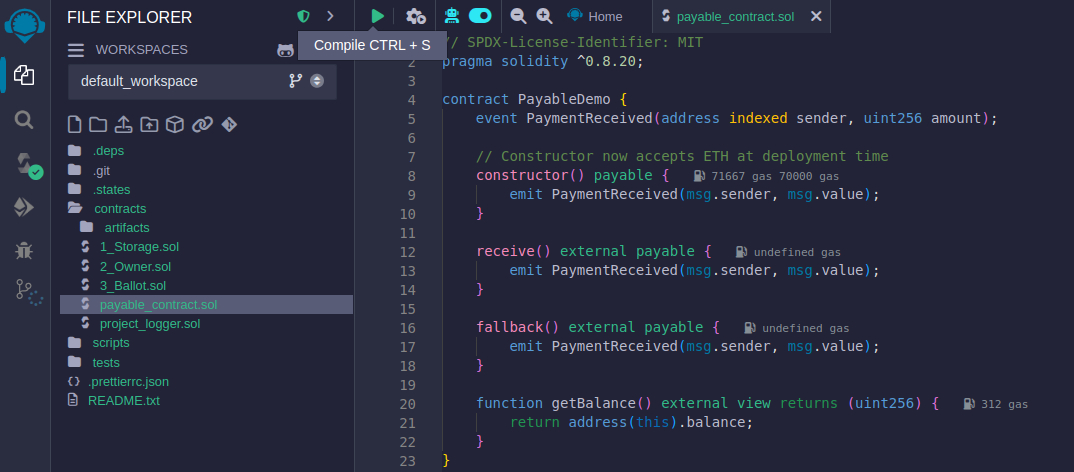 2. If your contract compiles successfully, you will see a green tick next to Solitiy Compilier link on your left hand side. Please check following screenshot:

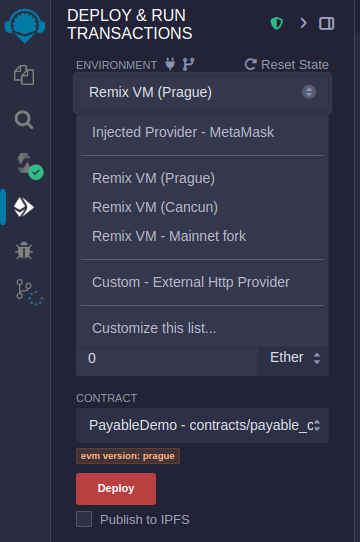
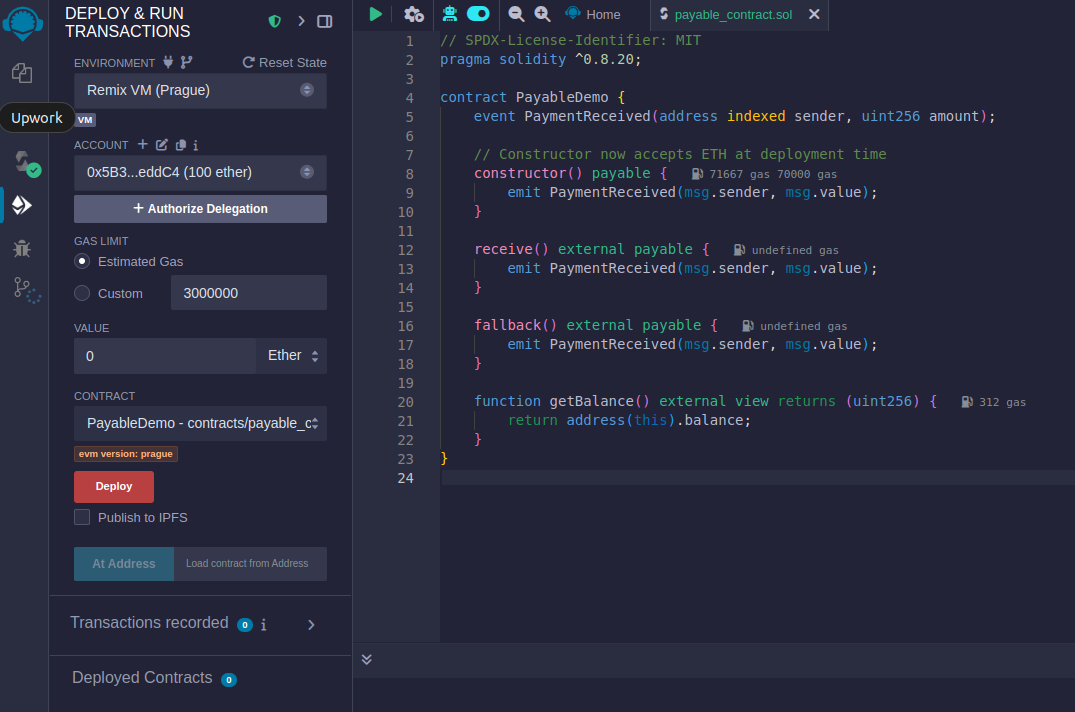 3. Ensure, we select the correct Environment (i.e., Injected Provider MetaMask) so that we can utilize our test ganache network. Click on the drop down as shown in the following screenshot:
 4. Once you have selected 'Injected Provider - Metamask', you will see the test account with test ether populated as shown in the following:
 5. Now click on the 'Deploy' button. As each contract deployment requires some gas amount (which is a transactional amount), you will see a confirmation box for MetaMask. It will ask for your confirmation (as gas amount will be deducted from your selected test account) to continue with contract deployment or not.
 6. Upon confirmation of contract deployment, we will see deployment start and finish. In case of no errors, you will confirmation on Remix console as shown in the following screenshot:
 7. Similarly following will be printed on the console screen (where our ganache network) is running
 8. Deployed contracts are shown under 'Deployed Contracts' on Deploy & Run Transactions as shown screen in the following screenshot:
