Our Blog

A Step-by-Step Guide to Setting Up Flask with Nginx
Flask + Nginx setup

A Step-by-Step Guide to Setting Up Flask with Nginx

What is Python Flask?

Python Flask, often simplified to "Flask", is a micro web framework authored in Python. Designed for simplicity, it provides developers with a fast and easy approach to web application creation. But don't be fooled: despite its 'micro' label, Flask is incredibly powerful and adaptable.

To understand Flask's charm, you have to understand what it means to be a 'micro' framework. Unlike larger frameworks, Flask does not impose any specific tools or libraries. Instead, it offers flexibility and control by allowing you to choose your own. This design principle makes Flask lightweight, but flexible enough to build simple to complex web applications. Its minimalist core can be expanded with a vast selection of extensions, depending on your project's needs.

Flask's simplicity does not mean it lacks power. Some might even argue that Flask's simplicity is its power. It is capable of powering a blog or a wiki page or scaling up to a full-fledged web service, handling millions of requests per day. For example, Flask's URL routing handles any number of incoming HTTP requests and directs them to the correct view function.

How to install and run Python Flask

Flask is known for its simplicity and ease of setup, a mini framework that's perfect for Python microservices. To commence, ensure both Python and its package manager pip are installed.

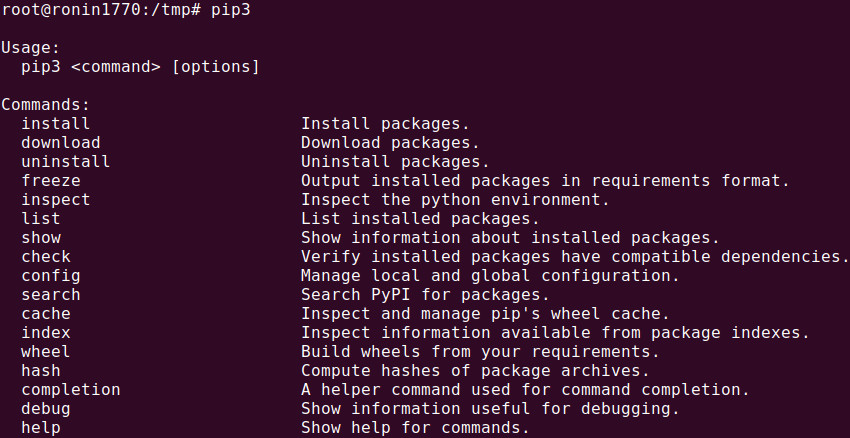
On Linux, Python comes pre-installed with the OS. You can check Python's version by using the following command: python3 Checking Python's version Let's confirm if pip is installed. You can use the following command: pip3 Checking PIP's version If pip is not installed, on Debian / Ubuntu we can use the following command to install it: sudo apt install python3-pip
A proficient and clean way to manage the different versions of packages without interference is by using a virtual environment. We can install it by using the following command: pip3 install virtualenv Install Virtual Environment Now let's create a new virtual environment called venv. virtualenv venv Create Virtual Environment Let's activate our virtual environment. source venv/bin/activate Activate Virtual Environment

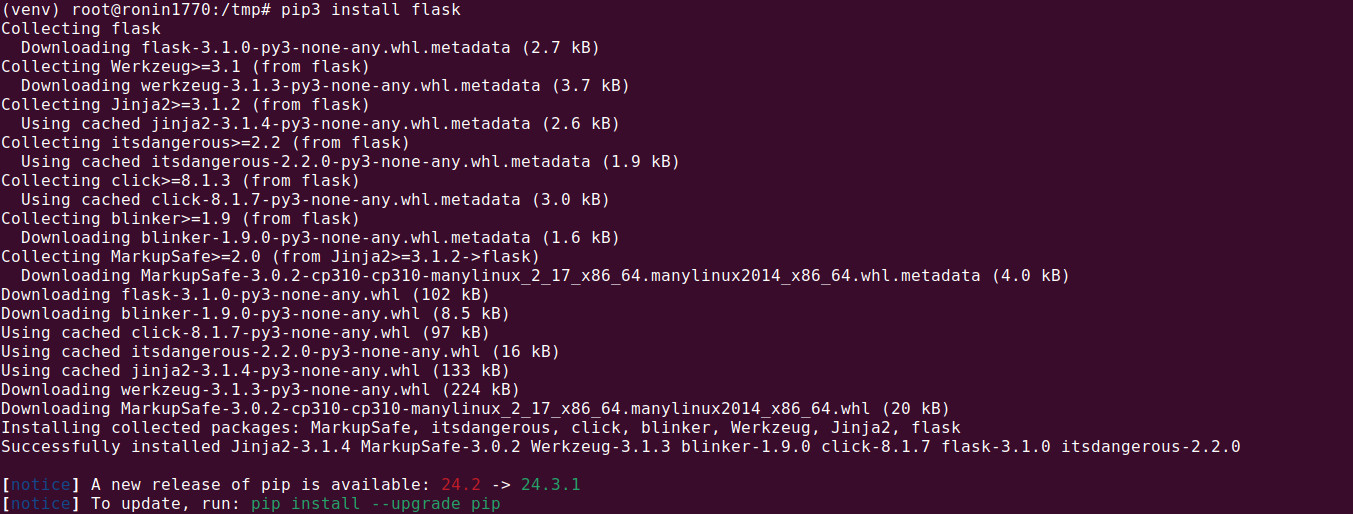
Within this isolated environment, Flask can be installed without cross-interference: pip3 install flask Install Flask Python Library

Having installed Flask, create a basic Flask app - add the code below to a file named app.py:

from flask import Flask app = Flask(__name__) @app.route("/") def hello(): return "Hello World!" if __name__ == "__main__": app.run(debug=True)

Running your application is as simple as typing:

python3 app.py Start the Flask Application

Here you go, you now have a running Flask app accessible on your localhost at port 5000. Explore Flask Application via Browser Do keep in mind that serving Flask apps this way is optimal for development, but not suggested for production. A different application server like Nginx should be used.

Flask and Nginx setup

When deploying the Flask application for production usage, it is recommended not to use Flask's built-in server, as it is primarily equipped for development purposes. More often, a combination of Nginx and Flask/Gunicorn services are employed. Nginx acts as a reverse proxy that manages client requests along with serving static files. On the other hand, Flask/Gunicorn is utilized to serve the Flask application.

To install Gunicorn within your flask environment, you can simply run the command: pip3 install gunicorn Install gunicorn server

After installation, check if Gunicorn is correctly serving the application using the command: gunicorn -w 4 -b localhost:5000 app:app Start gunicorn server This command states that Gunicorn will launch four worker processes, listening on the localhost at port 8000.

The subsequent step is to install Nginx. The installation command will depend on the operating system you are using. For Ubuntu, you can use: sudo apt install nginx Verify nginx is running correctly by using the following command: systemctl status nginx Check if nginx is running

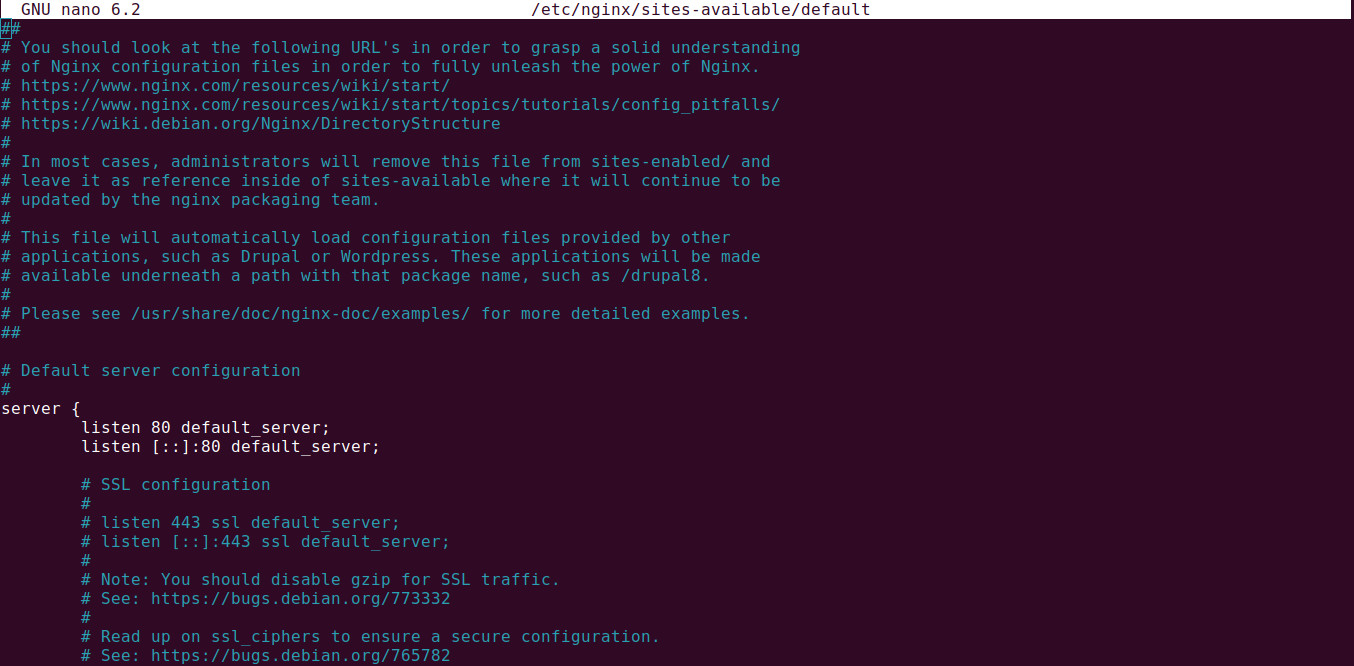
Post installation, Nginx needs to be configured to direct requests to Gunicorn. We will modify the nginx configuration at: /etc/nginx/sites-available/default. Open this nginx configuration file using your favorite text editor (e.g., nano on debian / Ubuntu). Default nginx configuration file Find the section location / { and replaces it original content with the following: location / { proxy_pass http://127.0.0.1:5000; proxy_set_header Host $host; proxy_set_header X-Real-IP $remote_addr; proxy_set_header X-Forwarded-For $proxy_add_x_forwarded_for; proxy_set_header X-Forwarded-Proto $scheme; } Verify if nginx configuration is correct by running the following command: nginx -t Verify updated nginx configuration file Now restart nginx web server using the following command: systemctl reload nginx

Let's start gunicorn server and test our integration via browser. Open up a browser and browse to http://localhost as shown in the following screenshot: Server running

Looking for a reliable tech partner? FAMRO-LLC can help you!

Our development team is skilled at building reliable and scalable solutions that help businesses grow. They work quickly and efficiently to deliver high-quality web applications, taking care of all the backend details so you can focus on your goals. Whether it’s a simple feature or a complex system, they ensure everything runs smoothly and meets your needs.

On the operations side, our DevOps team makes sure your applications are easy to deploy, scale, and manage. They streamline processes to handle high traffic, improve performance, and keep things running smoothly. By combining their strengths, our development and DevOps teams provide complete, hassle-free solutions that are built to grow with your business.

Please don't hesitate to Contact us for free initial consultation.

Our solutions for your business growth

Our services enable clients to grow their business by providing customized technical solutions that improve infrastructure, streamline software development, and enhance project management.

Our technical consultancy and project management services ensure successful project outcomes by reviewing project requirements, gathering business requirements, designing solutions, and managing project plans with resource augmentation for business analyst and project management roles.

Read More
2
Infrastructure / DevOps
3
Project Management
4
Technical Consulting