4. Step-by-Step Instructions for Setting Up Nginx as a Reverse Proxy
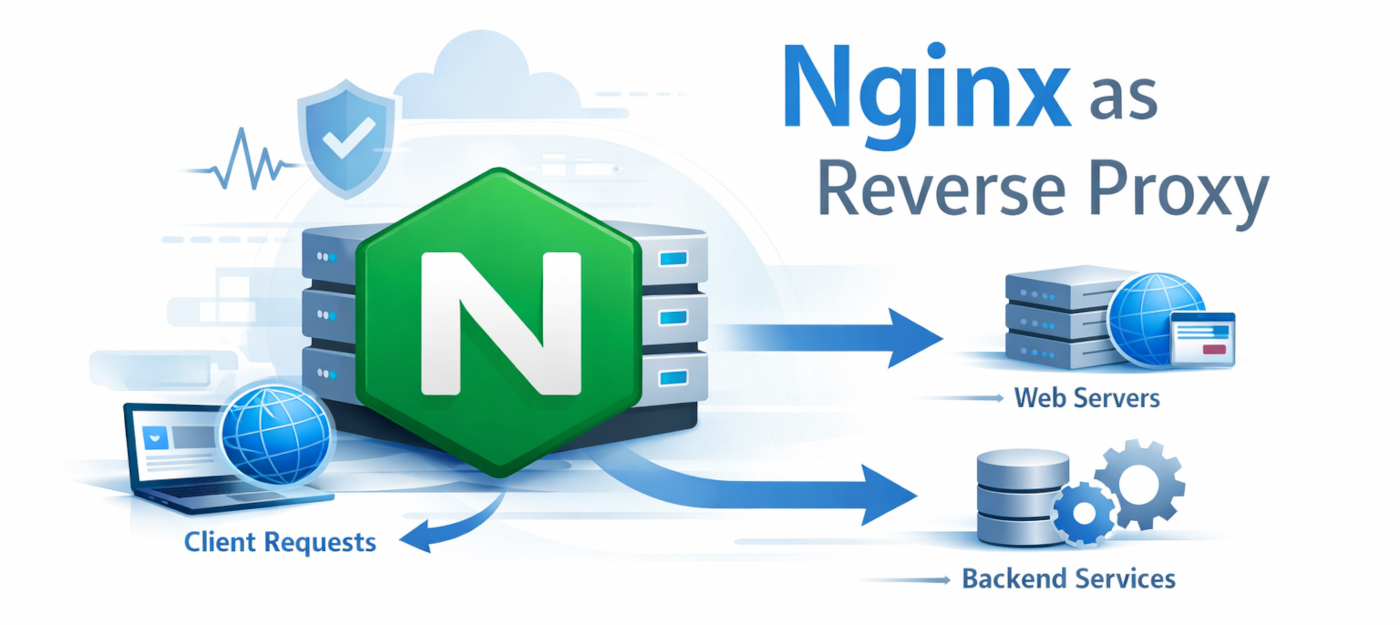
The following example shows a basic setup where Nginx forwards traffic from port 80 to an application running locally on port 3000. This is a common scenario for Node.js apps, Python web apps, internal dashboards, and lightweight business services.
Step 1: Install Nginx
On Ubuntu or Debian-based systems:
sudo apt update
sudo apt install nginx -y
After installation, confirm the service is running:
sudo systemctl status nginx
If needed, enable it to start automatically:
sudo systemctl enable nginx
Step 2: Confirm Your Backend Application Is Running
Before configuring Nginx, verify that the backend app is active and listening on its intended port.
For example, if your application runs on port 3000:
curl http://127.0.0.1:3000
If you get a valid response, the backend is reachable locally.
Step 3: Create a Basic Reverse Proxy Server Block
Nginx configuration files are often stored in /etc/nginx/sites-available/ on Debian-based systems.
Create a new configuration file:
sudo nano /etc/nginx/sites-available/myapp
Add this basic configuration:
server {
   listen 80;
   server_name example.com www.example.com;

   location / {
       proxy_pass http://127.0.0.1:3000;
       proxy_http_version 1.1;

       proxy_set_header Host $host;
       proxy_set_header X-Real-IP $remote_addr;
       proxy_set_header X-Forwarded-For $proxy_add_x_forwarded_for;
       proxy_set_header X-Forwarded-Proto $scheme;
   }
}
This configuration tells Nginx to:
listen for incoming HTTP requests on port 80
respond for the specified domain names
forward requests to the backend application on 127.0.0.1:3000
pass useful client and protocol headers to the backend
Step 4: Enable the Configuration
Create a symbolic link to activate the site:
sudo ln -s /etc/nginx/sites-available/myapp /etc/nginx/sites-enabled/
If the default Nginx site is still enabled and not needed, remove it:
sudo rm /etc/nginx/sites-enabled/default
Step 5: Test the Nginx Configuration
Always validate configuration syntax before reloading:
sudo nginx -t
If the output shows that the syntax is okay and the test is successful, proceed.
Step 6: Reload Nginx Safely
Apply the configuration without abruptly stopping service:
sudo systemctl reload nginx
Now requests to your domain should be proxied through Nginx to the backend application.
Step 7: Understand the Header Handling
The proxy_set_header lines are important. They pass original request details to the application.
For example:
Host preserves the requested hostname
X-Real-IP passes the client’s IP address
X-Forwarded-For preserves the chain of client and proxy IPs
X-Forwarded-Proto tells the backend whether the original request used HTTP or HTTPS
Many applications rely on these headers for logging, redirects, security checks, and URL generation.
Step 8: Configure an Upstream Block for Multiple Backends
If you want to forward requests to multiple application servers, define an upstream block:
upstream myapp_backend {
   server 127.0.0.1:3000;
   server 127.0.0.1:3001;
}

server {
   listen 80;
   server_name example.com;

   location / {
       proxy_pass http://myapp_backend;
       proxy_http_version 1.1;

       proxy_set_header Host $host;
       proxy_set_header X-Real-IP $remote_addr;
       proxy_set_header X-Forwarded-For $proxy_add_x_forwarded_for;
       proxy_set_header X-Forwarded-Proto $scheme;
   }
}
This lets Nginx distribute requests across multiple backend instances.
Step 9: Add HTTPS
For production use, HTTPS should be considered essential.
A common approach is to obtain a certificate using Let’s Encrypt and Certbot. Once installed, Nginx can listen on port 443 and use the certificate files.
A simplified HTTPS server block might look like this:
server {
   listen 443 ssl;
   server_name example.com www.example.com;

   ssl_certificate /etc/letsencrypt/live/example.com/fullchain.pem;
   ssl_certificate_key /etc/letsencrypt/live/example.com/privkey.pem;

   location / {
       proxy_pass http://127.0.0.1:3000;
       proxy_http_version 1.1;

       proxy_set_header Host $host;
       proxy_set_header X-Real-IP $remote_addr;
       proxy_set_header X-Forwarded-For $proxy_add_x_forwarded_for;
       proxy_set_header X-Forwarded-Proto $scheme;
   }
}

server {
   listen 80;
   server_name example.com www.example.com;
   return 301 https://$host$request_uri;
}
This configuration does two things:
serves secure traffic on port 443
redirects all HTTP traffic to HTTPS
Step 10: Verify Everything Works
After enabling HTTPS and reloading Nginx, test from a browser and the command line:
curl -I http://example.com
curl -I https://example.com
You should see the HTTP request redirect to HTTPS and the HTTPS request return a valid response.
Step 11: Maintain the Configuration
A working reverse proxy is not a one-time task. SMEs should treat it as a maintained service.
Good practices include:
keeping Nginx updated
reviewing logs regularly
renewing certificates on time
testing configuration changes before reloads
restricting unnecessary public exposure
documenting backend dependencies and routing rules
Even a simple setup benefits from routine review.