Section 1 : The Prerequisites
1. What is Minikube and Setting up Minikube on Ubuntu 22.04
Minikube is indeed an essential tool, enabling developers to run Kubernetes, a robust platform for managing containerized applications, locally. It particularly proves beneficial for testing and developmental scenarios prior to real production rollout.
More on setting up Minikube on Ubuntu 22.04, you should begin by updating the system using the command.
sudo apt update
 It's a best practice to keep the system up to date before installing any new software.
In order to install Minikube, you need to download the binary using the curl command
curl -Lo minikube https://storage.googleapis.com/minikube/releases/latest/minikube-linux-amd64
 Now we need to make the downloaded file executable by using the following command:
chmod +x minikube

Finally, to make minikube available globally on the system, you need to move the 'minikube' binary to the '/usr/local/bin/' directory with the command
sudo mv minikube /usr/local/bin/
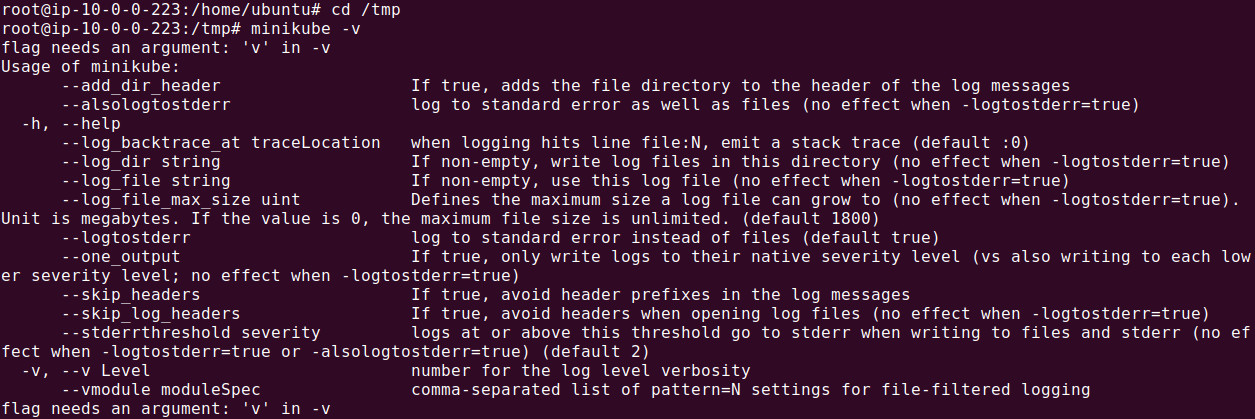
Moving the binary to this directory adds it to the user's PATH, making it accessible from anywhere in the system. To confirm this, browse to any other folder like /tmp and issue the following command
cd /tmp
minikube -v
Note: Be cautious with sudo permissions. While executing these commands, ensure that you're aware of what each step entails for system security.
2. Install the Docker runtime
Minikube is a tool that allows developers to run a Kubernetes cluster locally, and it requires a container runtime to function. By default, Minikube uses Docker as its runtime because Docker is widely supported, easy to configure, and integrates seamlessly with Kubernetes for managing containers. Docker provides the necessary environment to run containers, which Minikube uses to simulate a Kubernetes cluster.
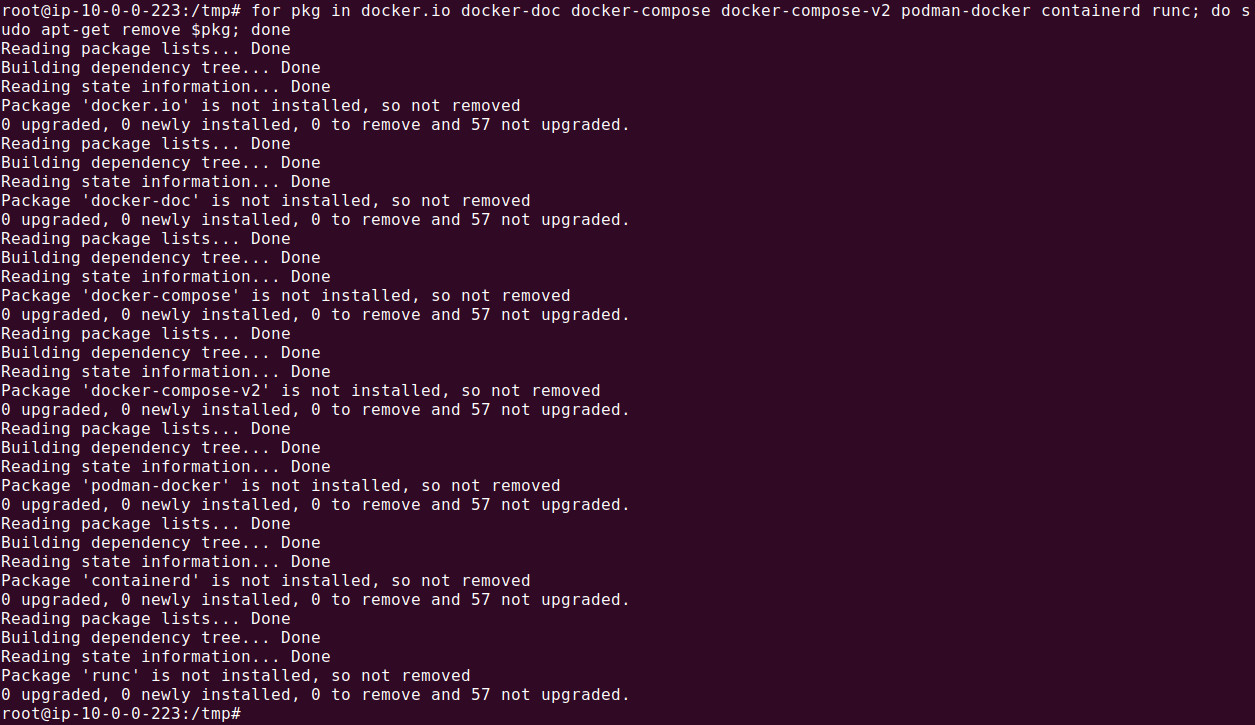
First remove all of the existing docker packages from your system (if any). Use the following command:
for pkg in docker.io docker-doc docker-compose docker-compose-v2 podman-docker containerd runc; do sudo apt-get remove $pkg; done
We will install Docker runtime using the official Docker's apt package repository.
- Install necessary software
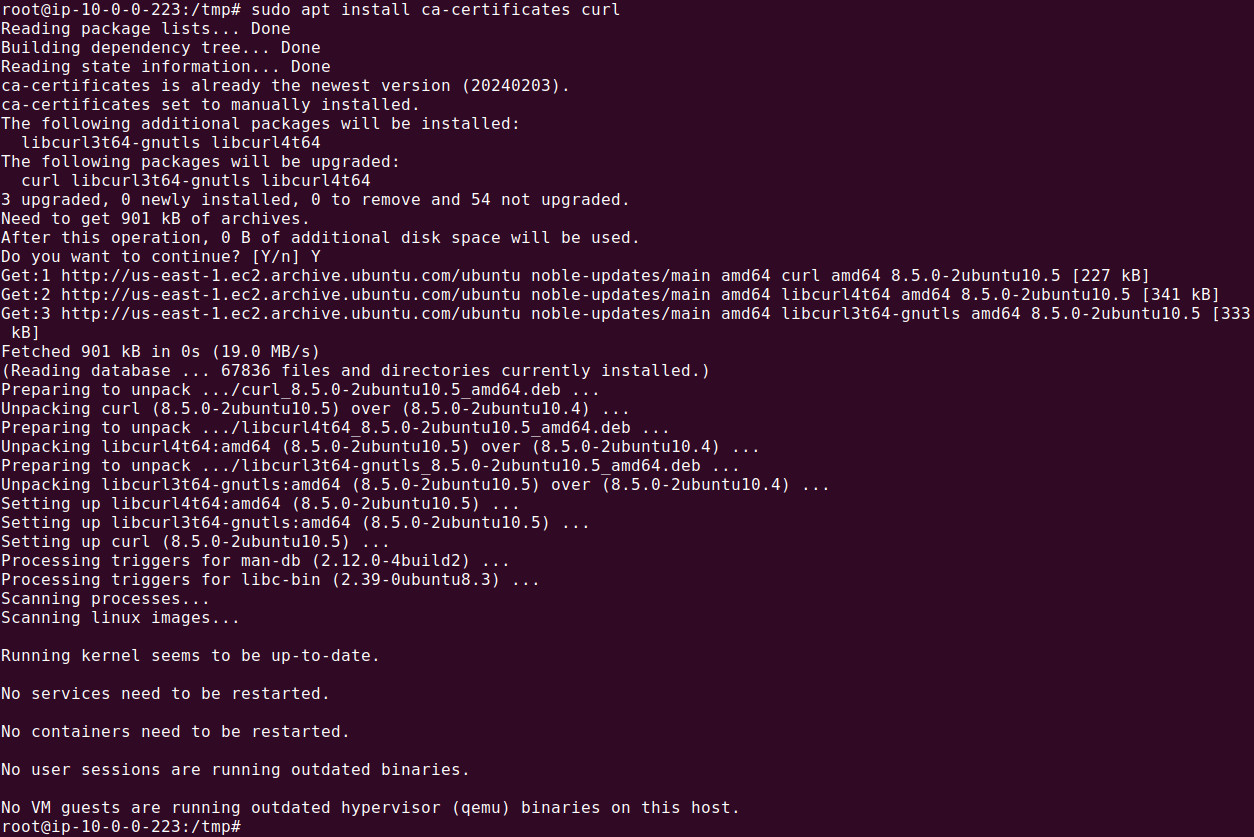
sudo apt install ca-certificates curl
 - Create the directory for keyrings. This setup is typically used for securely storing GPG keys used by APT to verify the authenticity of software repositories.
sudo install -m 0755 -d /etc/apt/keyrings
 - The command downloads Docker's official GPG key from its website and saves it in the /etc/apt/keyrings directory under the file name docker.asc. This GPG key is later used by APT to verify the authenticity of Docker's software packages when adding and updating its repositories.
sudo curl -fsSL https://download.docker.com/linux/ubuntu/gpg -o /etc/apt/keyrings/docker.asc
 - Setup necessary permissions for docker.asc file in /etc/apt/keyrings. The following command ensures that the GPG key file docker.asc in /etc/apt/keyrings is readable by all users. This is important because the APT package manager needs to access this key to verify the authenticity of Docker's repository during package installations or updates.
 - Now add the repository to the Apt sources and update apt:
# Add the repository to Apt sources:
echo \
  "deb [arch=$(dpkg --print-architecture) signed-by=/etc/apt/keyrings/docker.asc] https://download.docker.com/linux/ubuntu \
  $(. /etc/os-release && echo "$VERSION_CODENAME") stable" | \
  sudo tee /etc/apt/sources.list.d/docker.list > /dev/null
sudo apt update
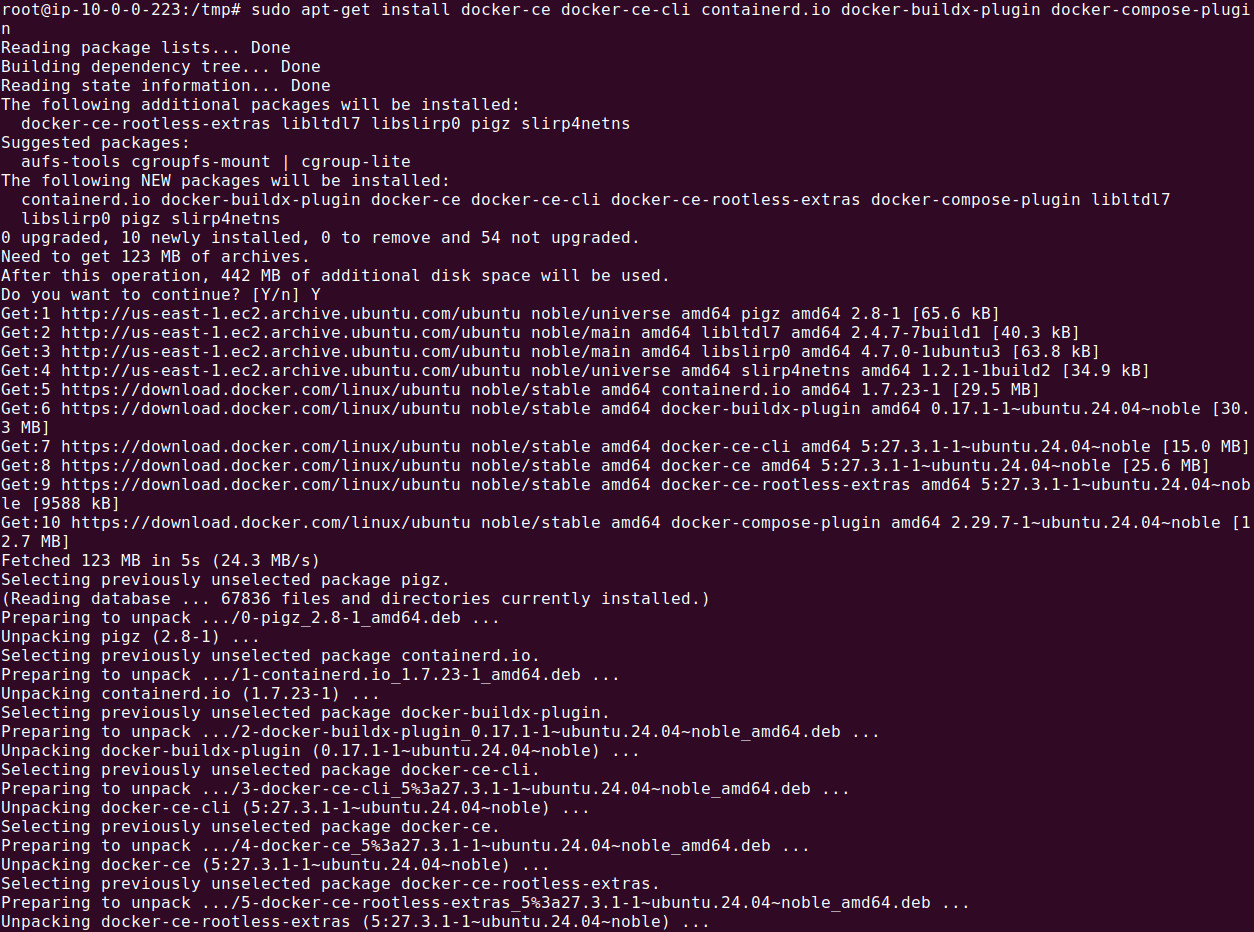
 - Install the latest Docker runtime, execute the following command:
sudo apt-get install docker-ce docker-ce-cli containerd.io docker-buildx-plugin docker-compose-plugin
 - We can verify successful installation by issuing the following command:
docker -v

3. Install the kubectl
kubectl is the command-line tool used to interact with Kubernetes clusters. It allows users to manage and deploy applications, inspect and manage cluster resources, and view logs or troubleshoot issues within the Kubernetes environment. With kubectl, administrators and developers can execute commands such as creating or deleting pods, services, and deployments, scaling applications, or applying configuration changes. It communicates with the Kubernetes API server to send instructions and retrieve the cluster's state. kubectl is highly versatile and supports imperative commands as well as declarative management using YAML configuration files, making it an essential tool for Kubernetes cluster management.
On Ubuntu 22.04, you can install kubectl by running the following command:
snap install kubectl --classic
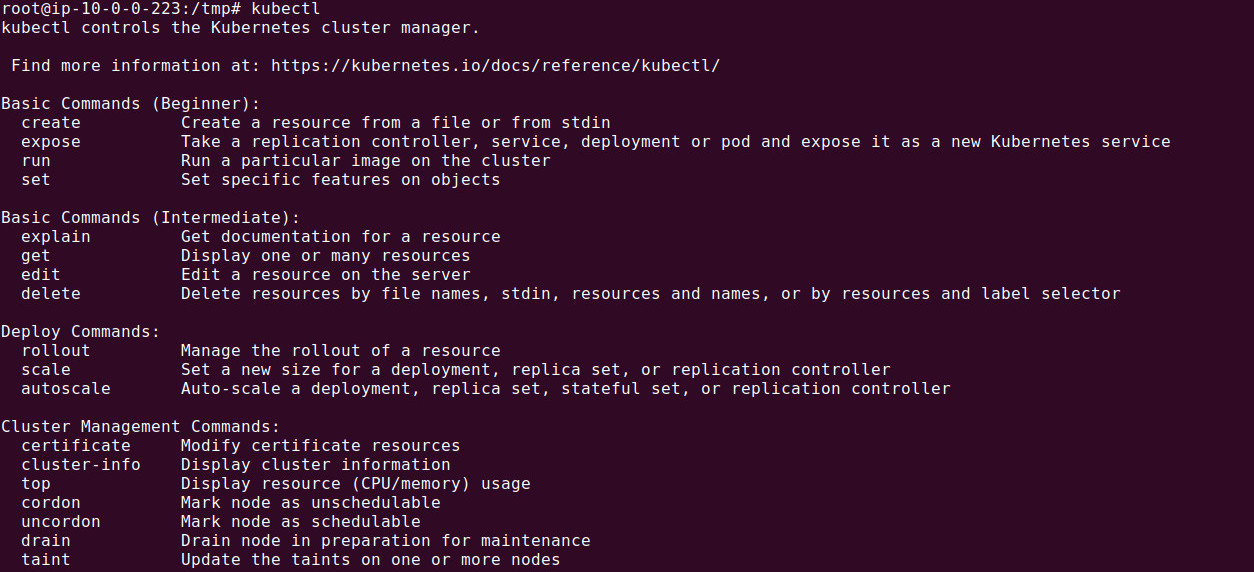
 We can verify the installation, by running the following command:
kubectl
4. Start the Minikube
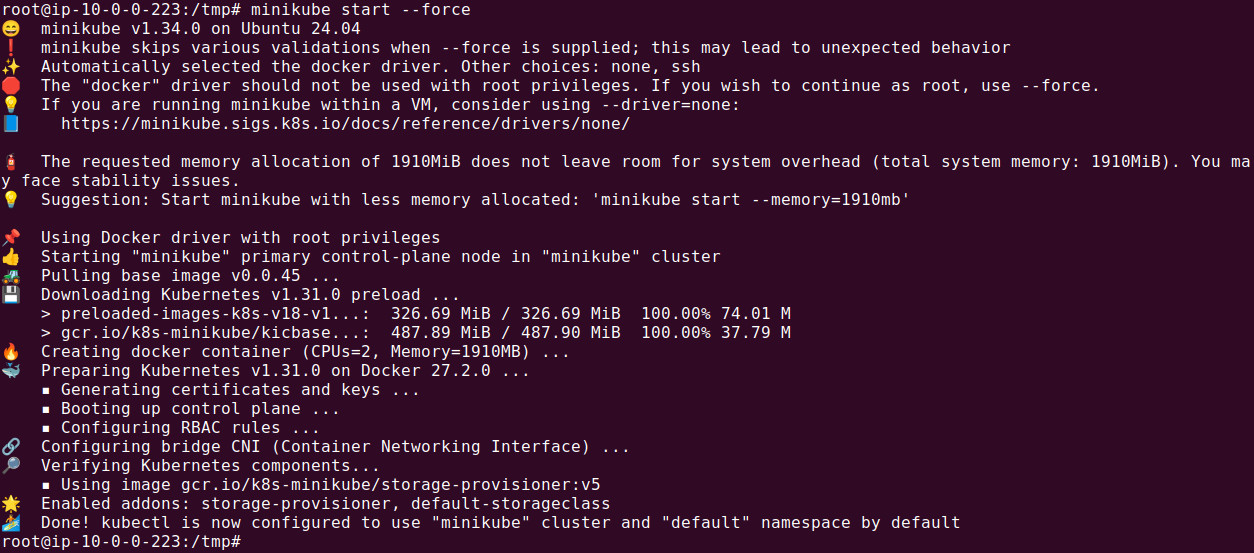
We can use the following command to start the minikube Kubernetes cluster.
minikube start --force
5. Verify Kubernetes is running
Execute following command to verify
kubectl get all


 It's a best practice to keep the system up to date before installing any new software.
  Now we need to make the downloaded file executable by using the following command:


 - Create the directory for keyrings. This setup is typically used for securely storing GPG keys used by APT to verify the authenticity of software repositories.
 - The command downloads Docker's official GPG key from its website and saves it in the /etc/apt/keyrings directory under the file name docker.asc. This GPG key is later used by APT to verify the authenticity of Docker's software packages when adding and updating its repositories.
 - Setup necessary permissions for docker.asc file in /etc/apt/keyrings. The following command ensures that the GPG key file docker.asc in /etc/apt/keyrings is readable by all users. This is important because the APT package manager needs to access this key to verify the authenticity of Docker's repository during package installations or updates.
 - Now add the repository to the Apt sources and update apt:
 - Install the latest Docker runtime, execute the following command:
 - We can verify successful installation by issuing the following command:

 We can verify the installation, by running the following command:


 We can verify deployment is successful by checking number of running pods. We can find that out by using the following command:

 Let's use django-app-6dfc75944c-7m86h for port forwarding. We use following command to forward port 8080 to 8000.
 Now test it by running the following command on the server's command line: